Description
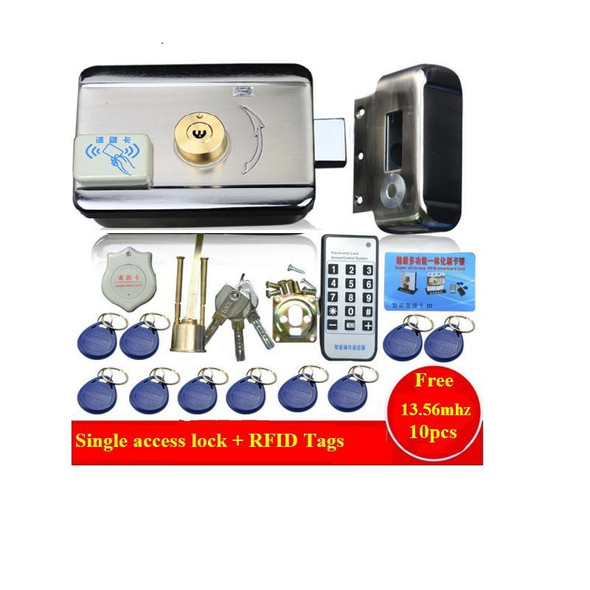
Battery CR2025 inside of this remote handlewill be taken out before delivery as battery is very sensitive for shipping; this kind of battery is easy to be found locally.

Specifications:
|
Voltage |
DV 9 ~ 12V |
|
Current |
1.5A ~ 3A |
|
Power |
> 12W |
|
Operating Mode |
NO (open when powered) |
|
Work temperature |
-40 Celsius~50 Celsius |
|
Dimensions (strike) |
60 (W) x 35(H) x 100 (D) mm |
|
Dimensions (main body) |
130 (W) x 45 (H) x 100 (D) mm |
|
Weight |
1.33kg/2.925lb |
1.Enter programming state:
1, Press * programming password press # to enter the programming state, exit press Press *.
The factory default password is 841110 .
All the following operations are to enter the programming state of the operation.
2.Change Password:
Press 0 1 # Enter the password change option ,and then:
Press 0 # 8411 # Reset all passwords
Press 1 # 6-digit Programming new password Press # 6-digit Programming new password again Press # Change programming password
Press 2 # 6-digit Open a new password Press # 6-digit Open a new password again Press # Change the opening password
Press 3 # 6-digit New password for network connection Press # 6-digit New password for network connection again Press # Change network password
3.Set the mother card:
Press 1 0 # and brush the new mother card or directly enter the mother card's number Press #
Example: Normal state, brush the mother card into the deleted card, brush the mother card twice into the adding cards. Re-brushing exit.
4.Add, delete, modify the card operation:
Increase pass card
Press 1 1 # and directly brush card continuously or directly enter card number press #
When you need to do more card control, please set the following parameters before adding the card.
Press 1 # Enter 4-digit room number Press # (Default 0001)
Press 2 # Enter 3-bit time period entry Press # (default 001, full-time passage)
Press 3 # Enter the 6-digit effective date Press # (default 991231, December 31, 1999)
Delete the pass card
Press 2 1 # directly brush card continuously or directly enter the card number Press #
When you need to delete more cards control, please make the following settings before deleting.
Press 1 # Enter 4-digit room number Press # ( to delete all the cards in the room number)
Press 2 # Enter the 3-digit time period Press # (to delete all the cards in this period)
Press 3 # Enter the 6-digit effective date Press # (delete all cards with the valid date)
Automatic attendance increase pass card
Press 1 8 # enter need to increase the number of pass card directly Press #
When you need to do more card control, please set the following parameters and then set the number of pass cards.
Press 1 # Enter 4-digit room number Press # (Default 0001)
Press 2 # Enter 3-digit time period entry Press # (default 001, full-time passage)
Press 3 # Enter the 6-digit effective date Press # (default 991231, December 31, 1999)
Delete all cards
Press 2 4 # 8 4 1 1 #
Modified pass card expiration date
Press 1 2 # directly brush card continuously or directly enter the card number Press #
Please set the new valid date and then modify the card as needed.
Press 1 # Enter 4-digit room numbers Press # ( Change all the cards in the room number to the new effective date.)
Press 2 # Enter the 3-digit time period Press # ( Change all the cards in the time period to the new effective date.)
Press 3 # Enter the 6-digit new valid date Press # ( New effective date ,be sure to set up here)
Press 4 # 8 4 1 1 # All the card is set to the new effective date.
Note:
1. This lock is not fire with the lock, absolutely not allowed to install on the fire escape door, or at your own risk
2. This lock must be connected to the DC12V product. And it can't connect AC 220V power supply directly, otherwise the electric lock will be damaged. We will not responsible for this .


